Here is an overview over LeadJabber’s Engager. This is the sales engagement tool, where you can manage and organize prospects.
The Engager is the main tool you will use for handling replies/responses to your campaigns
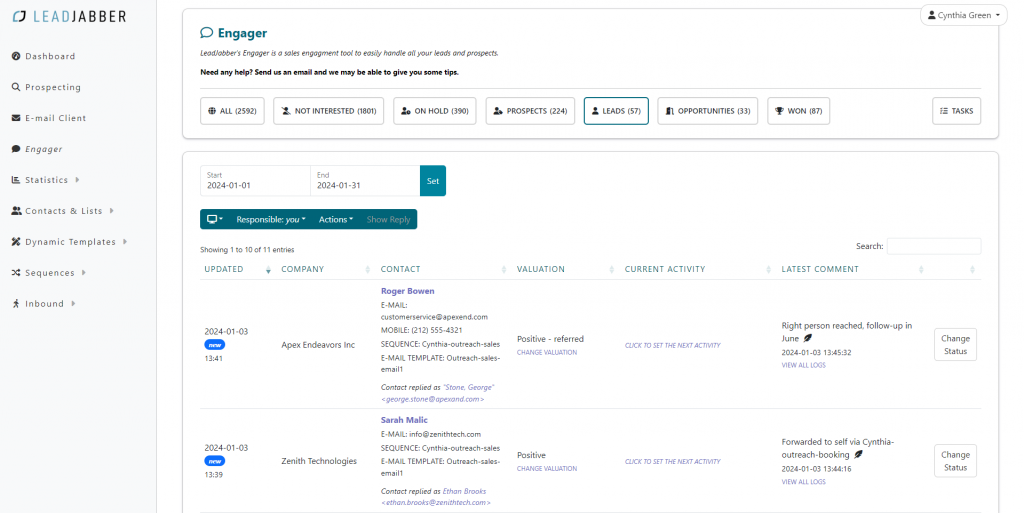
When you set up Outreach sequences in LeadJabber and send out emails to contacts, the emails that LeadJabber recognizes as a reply to an email from a sequence will appear in the Engager as “Prospects”.*
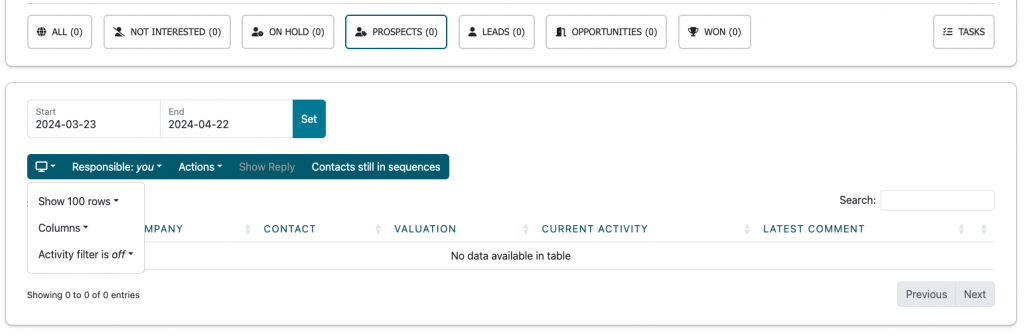
The Engager is laid out like a sales pipe, where you can distribute the replies/leads into different segments; “NOT INTERESTED”, ”ON HOLD”, “PROSPECTS”, “LEADS”, ”OPPORTUNITIES” and ”WON”.

When an engagement occurs (a reply to an email in an outreach campaign), they will appear under “Prospects” with the latest engagement at the top by default (you can change the sort order in the views by clicking the column names) and they will have a “new” tag by the time of the engagement until you handle the engagement in any way.
Every row in the engagement view has this information by default:
The different ways to handle an engagement for an outreach campaign follows.
*For LeadJabber to be able to do this, the forwarding to the parser from the email address must be set up correctly. You can read more about forwarding in the “Getting Started” section.
In the Engager view, every row is an engagement. You can see the reply by either marking the engagement and clicking “Show reply” in the menu above the engagements, or you can simply double-clicking the row.
A window with the reply will open where you can see the conversation/email, and you will have three options/buttons above the content:
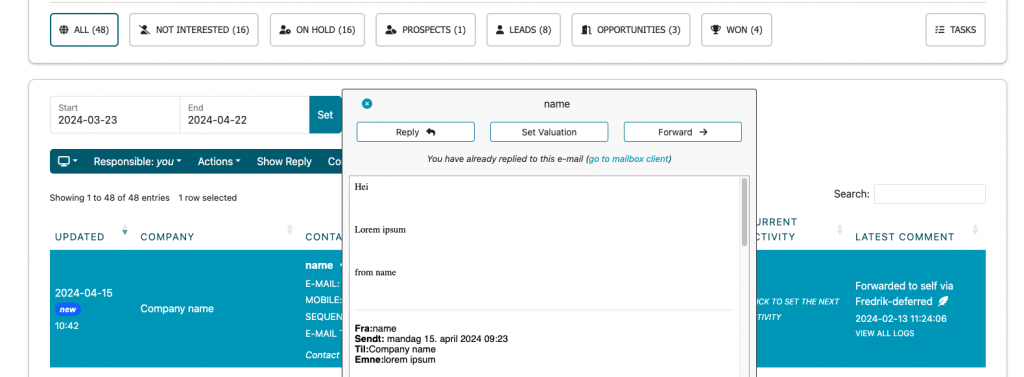
*If the engagement has a note of “Contact replied as [another contact email]” under the “CONTACT” column, you can add that person as a new contact by clicking the name/email of the contact that replied. This will open up the “New contact” window where you can fill in additional information and save to create the contact, then you will be prompted whether you want this new contact to “take over” as the contact for the engagement. If you click “Reply” after this, the reply will go the the person that replied instead of the original contact for the engagement.
You can segment the engagement in two different ways, by opening the reply and click “Set Valuation”, or you can click the “Change Status” on the right side of the engagement.
When you choose which valuation the engagement will have, the contact/engagement will move to the corresponding segment.
Log items will be created automatically in some instances, for example if the contact books via a connected Calendly-account.
There is also “semi-automatic” optional logs, for example when you forward an engagement or remove a contact for a sequence, you will be prompted if you want to add a log item for the action.
If you want to make a manual log item/comment, for example if you get a reply that the contact wishes you to call them, you can create a log item/comment about this by clicking “View all logs” under the “LATEST COMMENT” column, then “Create” to add a comment for this. The latest comment will always show in this column in the Engager.